WindPress offers support for the two most recent major versions of Tailwind CSS.: 3.x and 4.x, to cover all use cases and ensure a smooth transition from Tailwind CSS 3.x to 4.x.
To learn more about the differences between Tailwind CSS 3.x and 4.x, refer to the official Tailwind CSS documentation.
WindPress will continue to support both versions of Tailwind CSS to ensure that users can choose the version that best suits their needs.
Switching Tailwind CSS Versions#
On a fresh WindPress installation, the default active version of Tailwind CSS is 4.x.
However, you can easily switch to version 3.x, and vice versa, by following these steps:
Step 1: Navigate to the WindPress admin screen#
On the left sidebar menu of the WordPress admin dashboard, click on the WindPress icon to open the WindPress admin screen.
Step 2: Switch to Settings page#
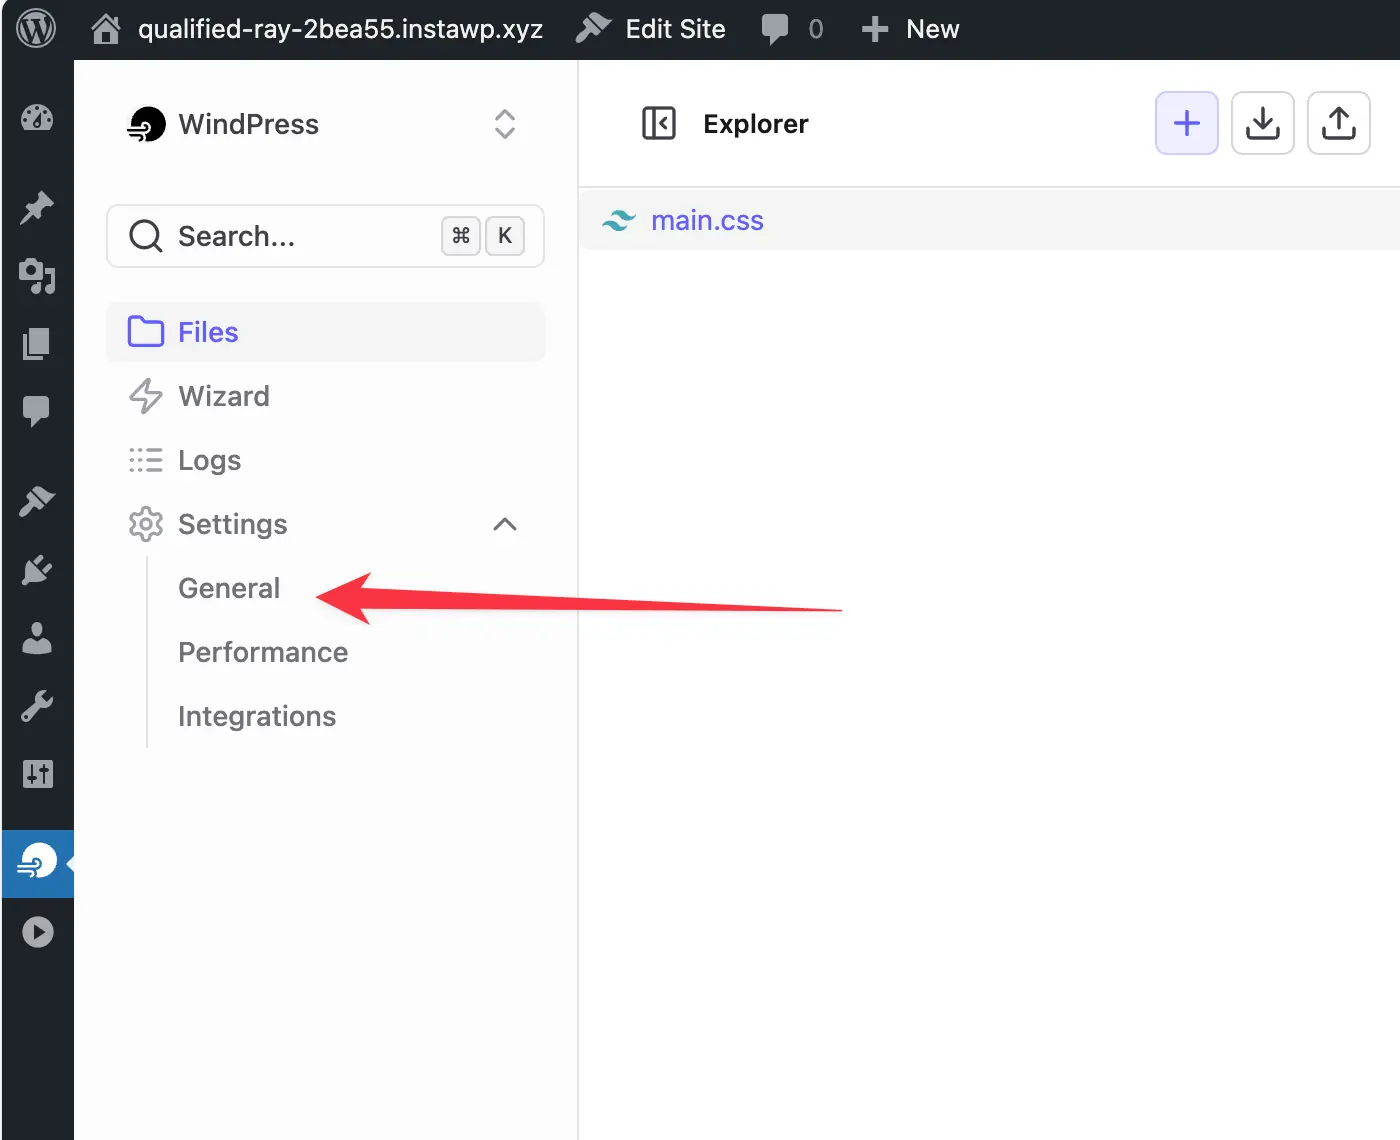
Click on the Settings → General submenu.
Step 3: Select Tailwind CSS version#
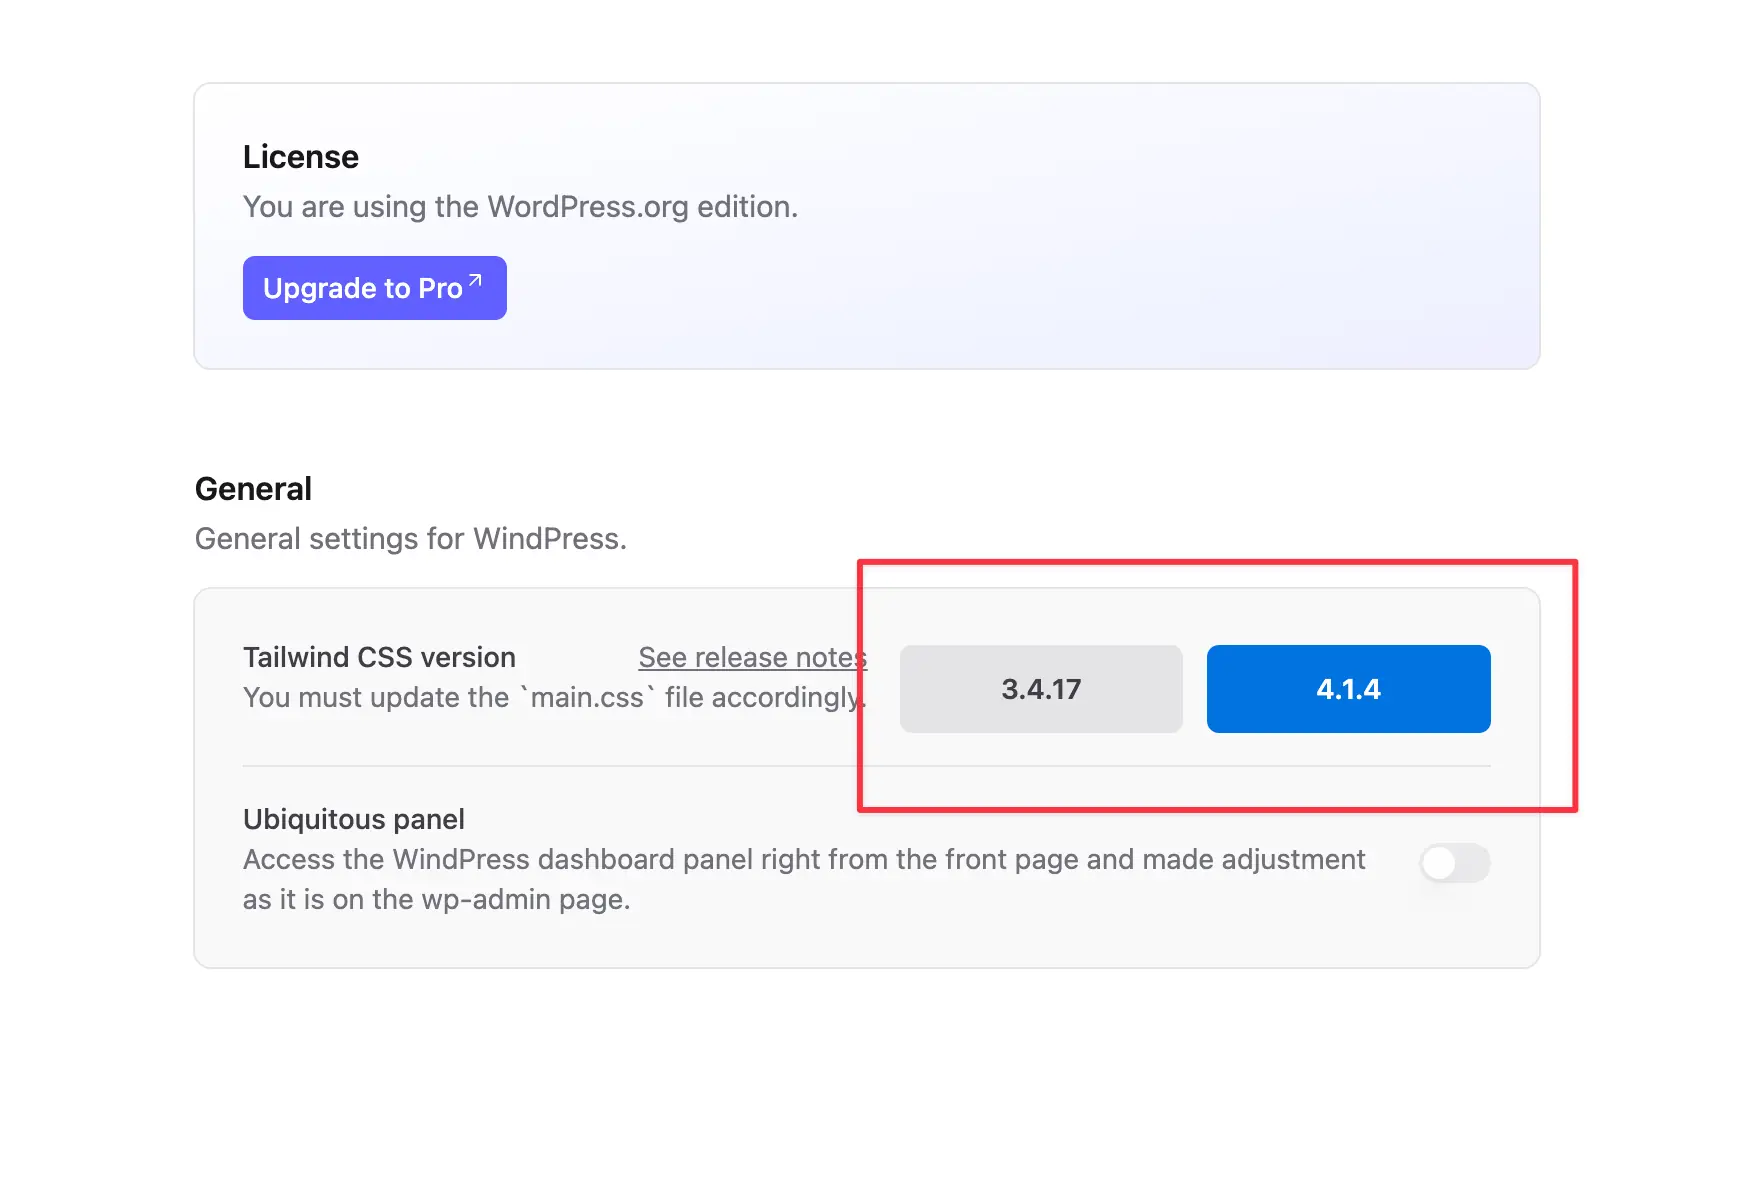
Select the desired Tailwind CSS version under the Tailwind CSS Version section.
Step 4: Save the changes#
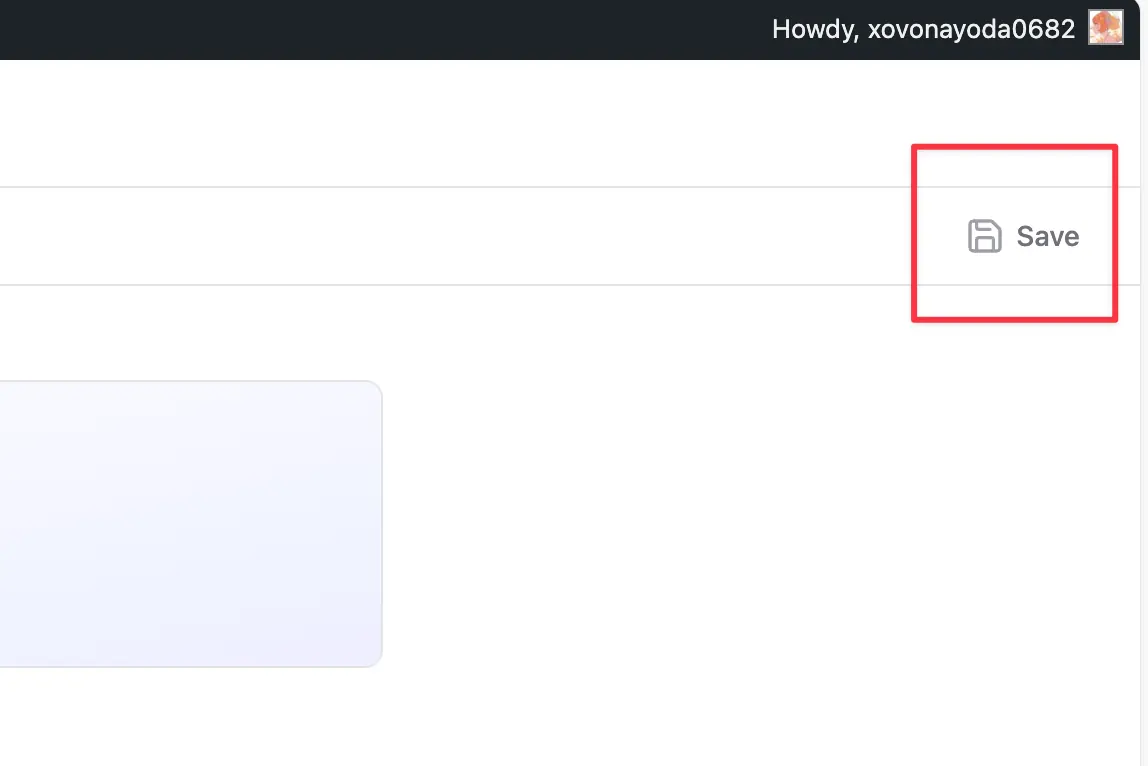
Click on the Save button to apply the changes.
Step 5: Switch to main.css file editor#
Switch to the main.css file editor tab.
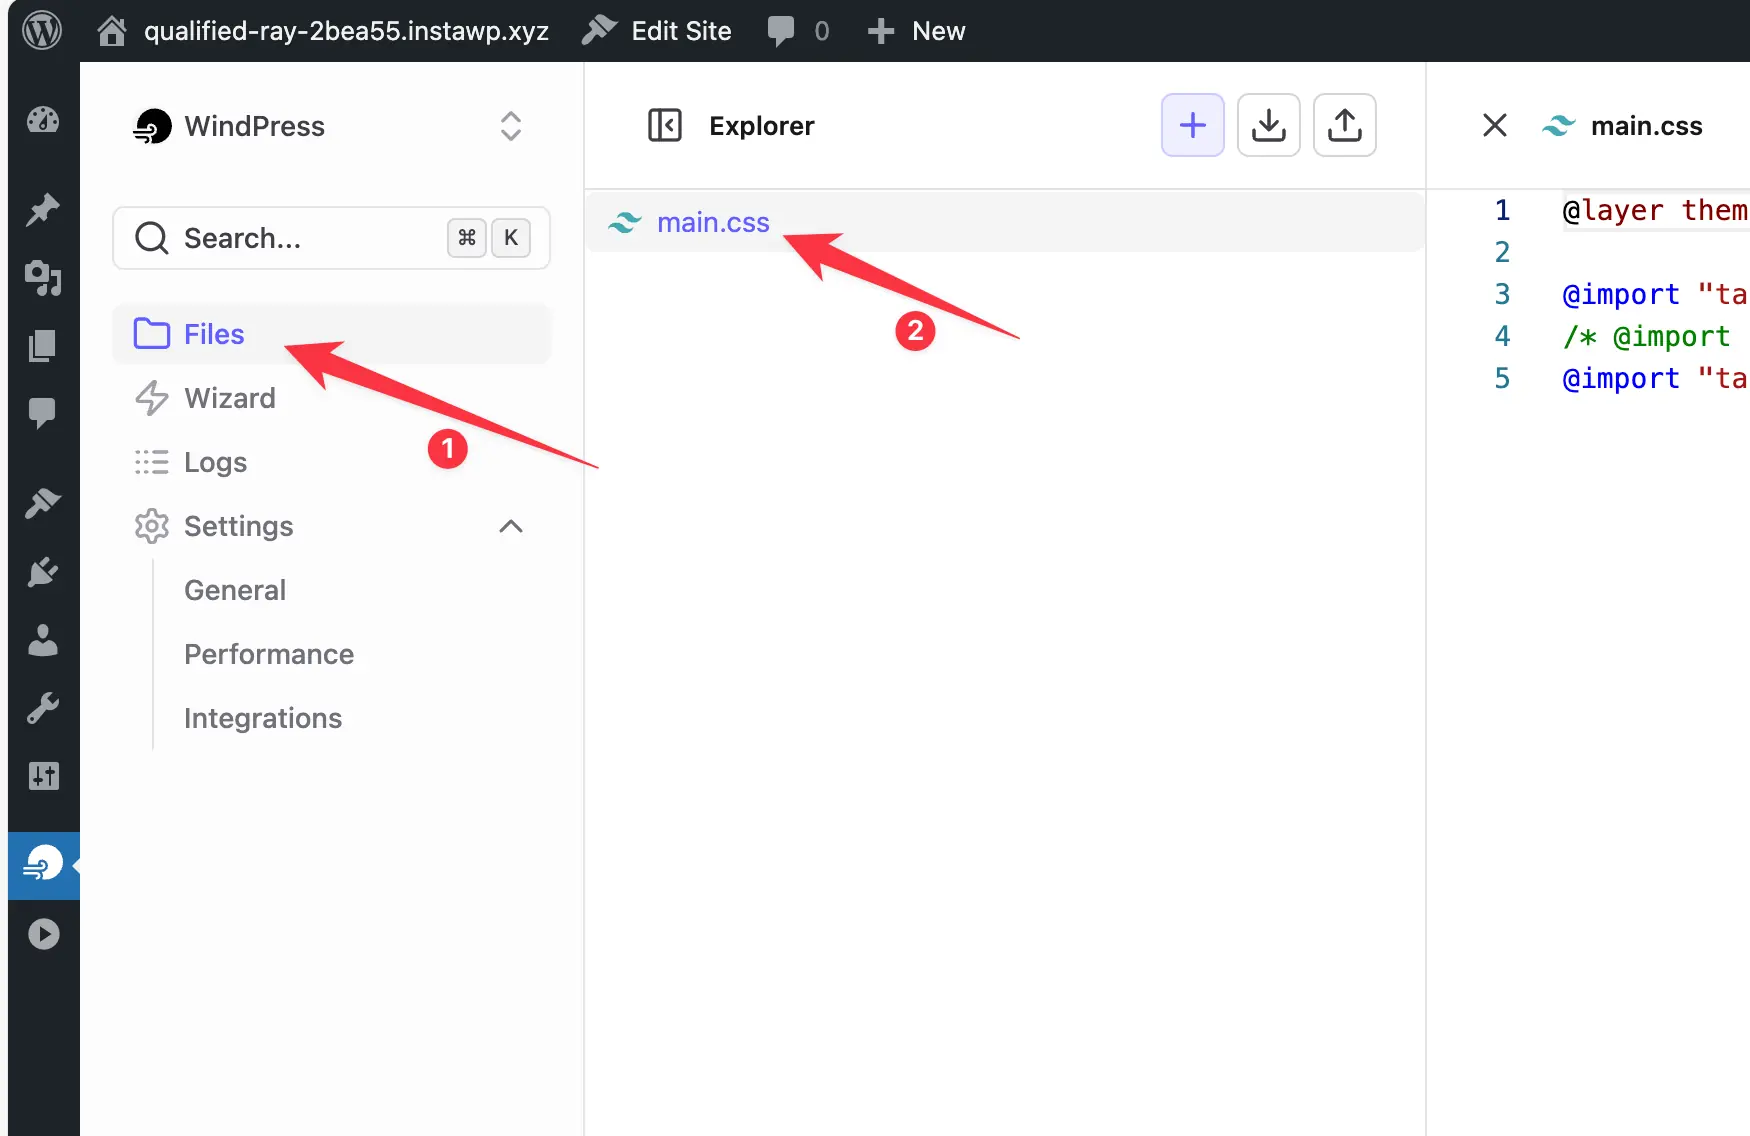
Step 6: Update the main.css file and Save the changes#
As the v3.x and v4.x versions of Tailwind CSS have different approaches to define and customize the Tailwind configuration, you must update the main.css file accordingly. Remember to save the changes after updating the main.css file.
You can reset the main.css file to its default by following this guide.